In this tutorial, I will explain the method of facial animation with Wire Deformers.
For the explanation about the skeleton and skinning, please refer to
Maya: character setup (1): skeleton and skinning
For the explanation about adjusting skin weights, please refer to
Maya:character setup (2): adjusting skin weights
For the explanation about IK handle, please refer to
Maya tutorials:character setup (3): IK handle
For the explanation about Blend Shape Deformers, please refer to
Maya tutorials:character setup (4): facial animation
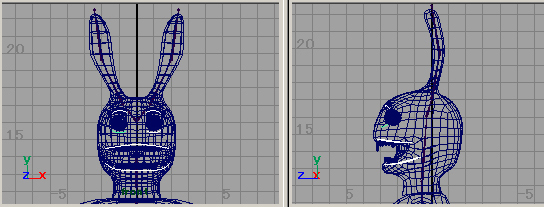
Make the NURBS curves in the place where you want to deform and create facial expressions.
Select Deform > Wire Tool
Select the object(s) that wants to be deformed, then press Enter key.
Select the curve(s) that wants to be used for the deformation, then press Enter key.
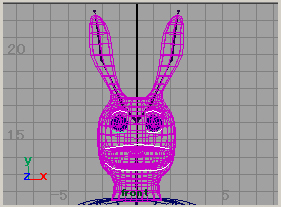
You will see the objects reverse red as shown in the above figure.
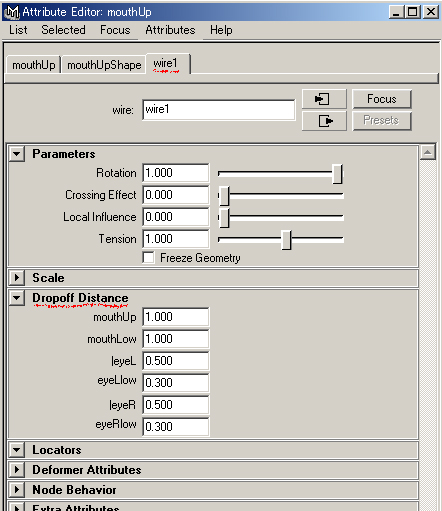
Select the one of the curves and open the Attribute Editor.
Put the distance value where each curve influences the object
to Dropoff Distance in the wire tab.
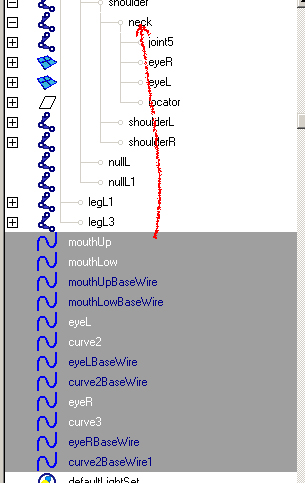
When the bind is done to the skeleton, you make the wires 'Child' of appropriate Joint.
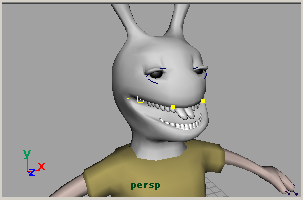
You move the CVs of each curve and make the facial expression.
You will set the keyframes and complete animation.
Japanese article
Maya tutorials:character setup (5): facial animation with Wire Deformers
