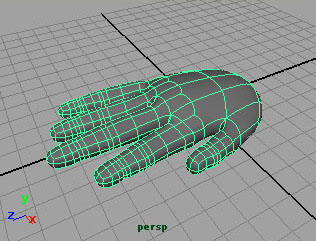
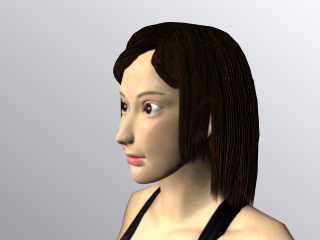
In this tutorial, I am going to explain the smoothing of the polygon mesh
and the usage of the Subdiv Proxy.
]]>
For the explanation about polygon modeling, please refer to
Maya tutorials: polygon modeling (1) basic operation
Maya tutorials: polygon modeling (2) operation of the polygon mesh
 Smooth
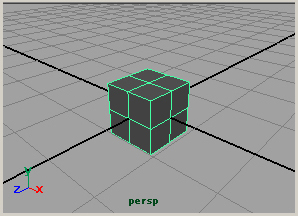
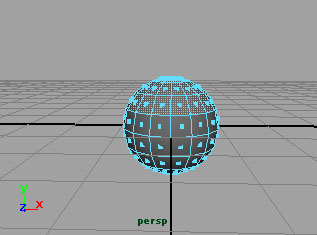
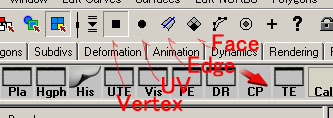
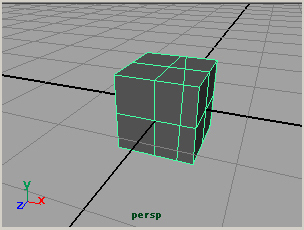
Select a polygon mesh
Mesh > Smooth
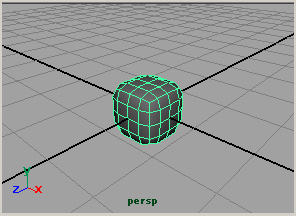
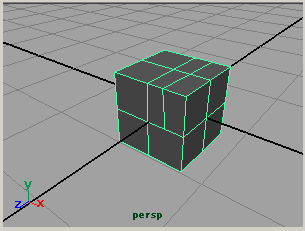
The faces are subdivided and smoothed.
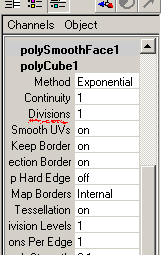
In the Channel Box, you see the history of the commands,
and you can specify the object's smoothness by setting
the Divisions value.
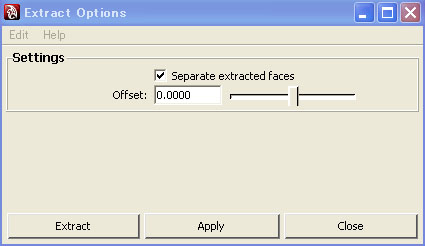
Or you can specify the Divisions value
in the option window of the Smooth command.
Mesh > Smooth 
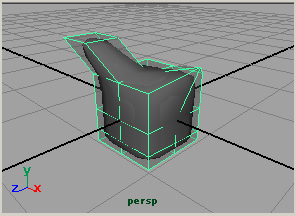
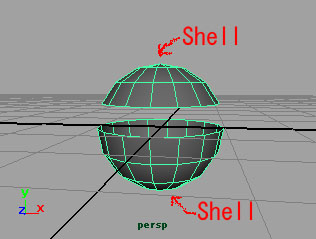
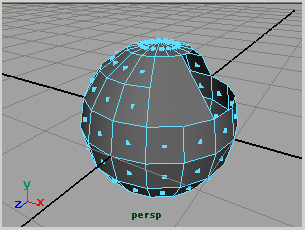
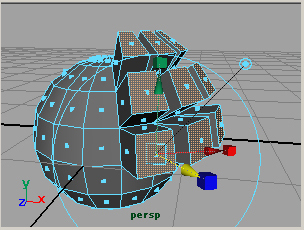
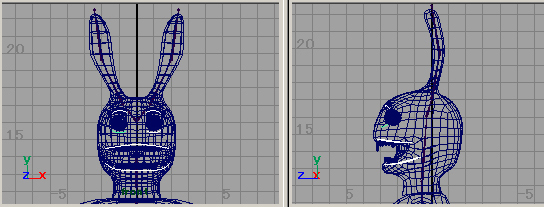
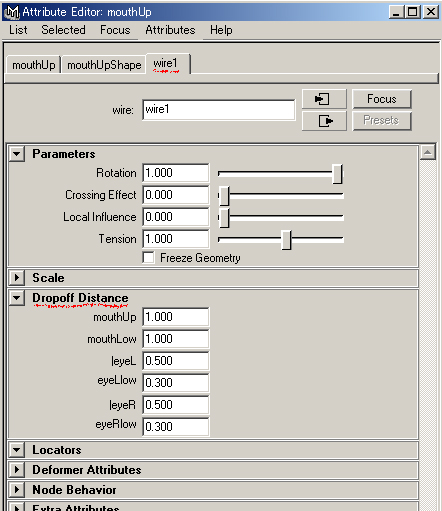
Subdiv Proxy
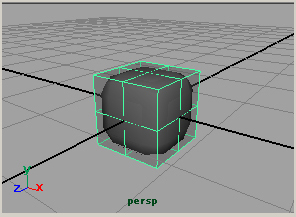
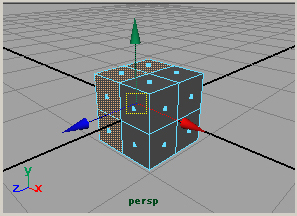
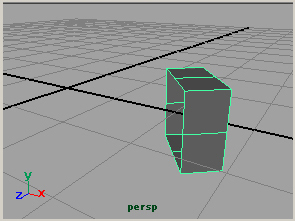
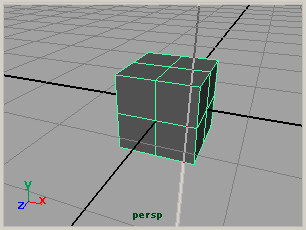
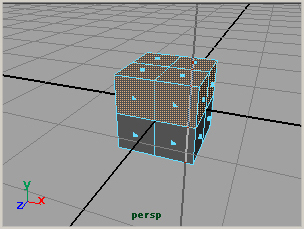
Select a polygon mesh
Proxy > Subdiv Proxy
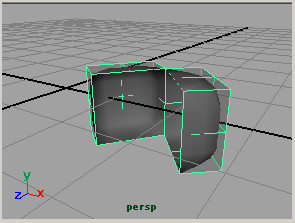
A smoothed mesh are generated in the proxy mesh.
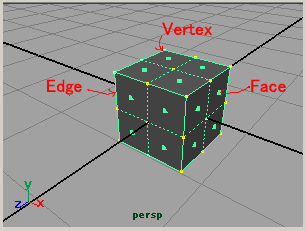
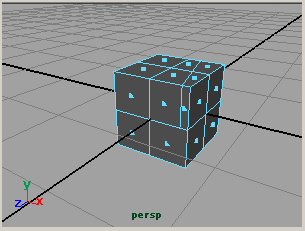
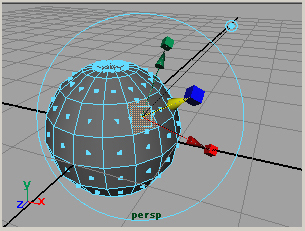
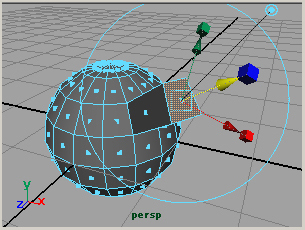
When you edit
(transform, rotate, scale the vertices, edges, and extrude, cut faces etc)
the outside polygon (proxy mesh),
the inside polygon (smooth mesh) is similarly edited like being smooth.
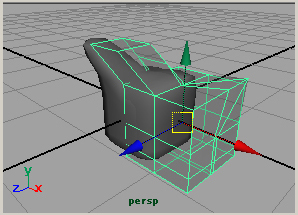
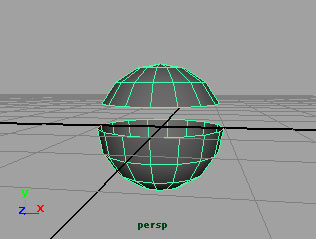
Because the inside polygon doesn't follow
if you transform, rotate, scale the outside polygon in the object mode,
you should transform, rotate, scale it in the component mode.
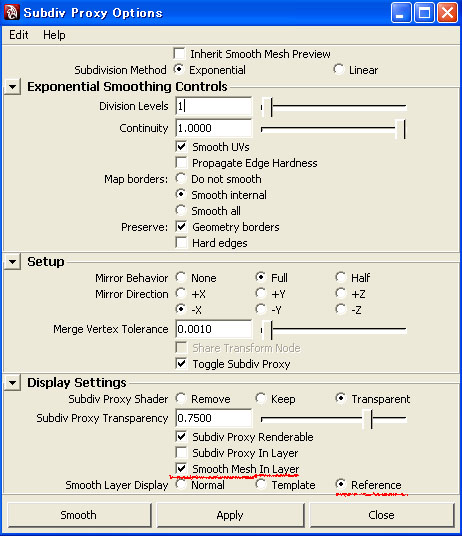
Open the option window
Proxy > Subdiv Proxy
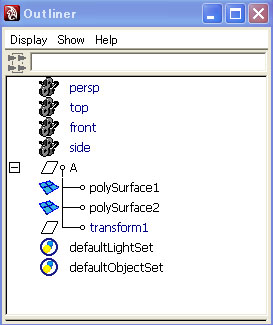
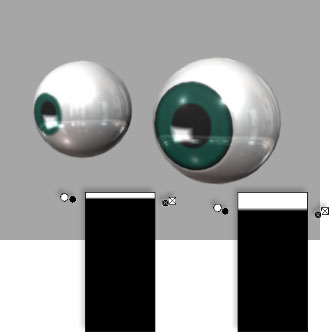
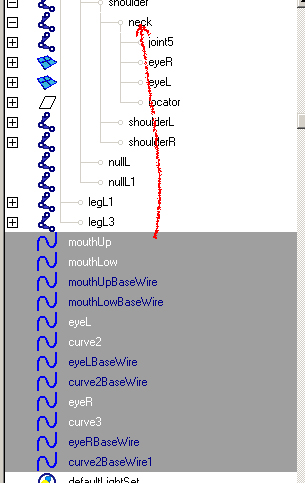
If you turn on Smooth Mesh In Layer
the smooth mesh is put in a display layer.
Moreover, Reference is set automatic and on,
and the layer enters the state of the reference (R mark).
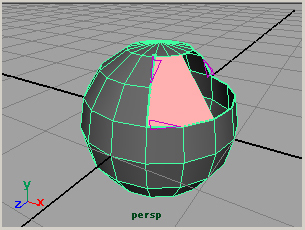
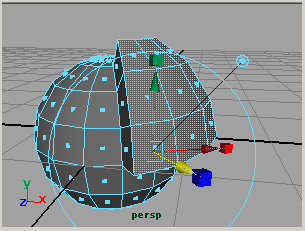
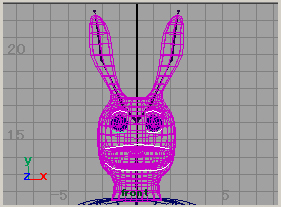
Subdiv Proxy that keeps symmetry
Select the faces of the polygon mesh that are in -x,
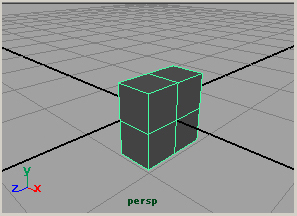
delete them.
Select the polygon mesh in the object mode,
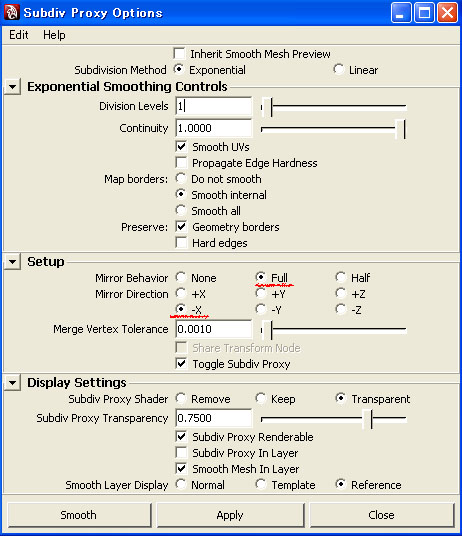
open the option window
Proxy > Subdiv Proxy
Select
Mirror Behavior Full
Mirror Direction -X
Push the Smooth (or Apply) button.
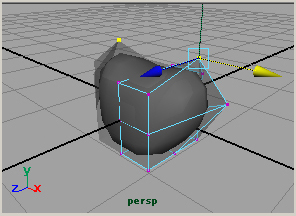
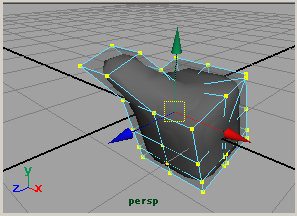
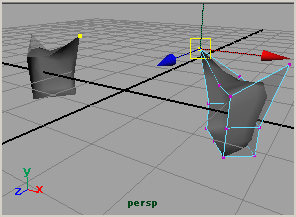
When you edit the outside polygon (proxy mesh),
you can do modeling with symmetry kept.
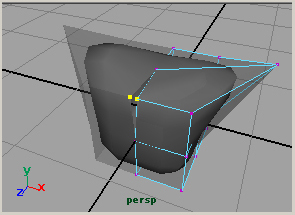
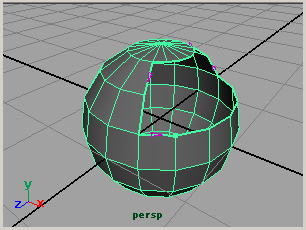
When the vertices that should be x=0 has shifted as shown in the above figure,
you choose the vertices around x=0,
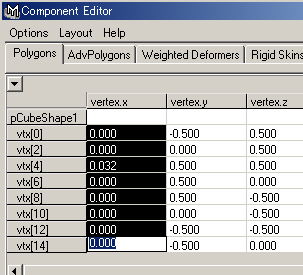
open the Component Editor
Windows > General Editors > Component Editor...
Specify the value of x coordinates for 0.
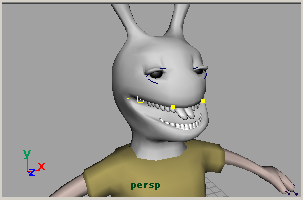
Smooth Mesh Preview
In Maya 2008 (or later), you can display the polygon meshes smooth
with pressing 1, 2, 3 keys.
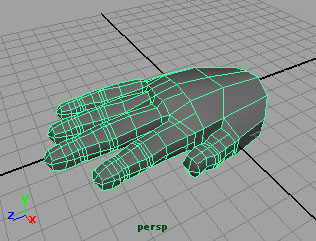
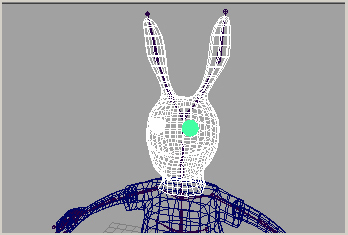
1 key, original polygon.
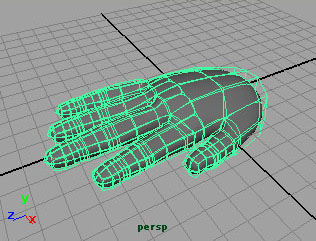
2 key, original polygon (cage) and smooth.
3 key, smooth.
Japanese article
Maya tutorials: polygon modeling (2) Subdiv Proxy
]]>


 on the object.
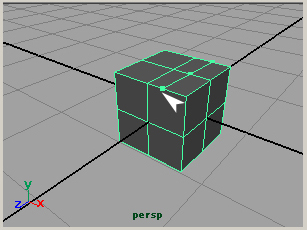

 .
.


 (Show Manipulator Tool) is clicked,